
The Two-Bucket Wash Method: Safe Car Washing at Home
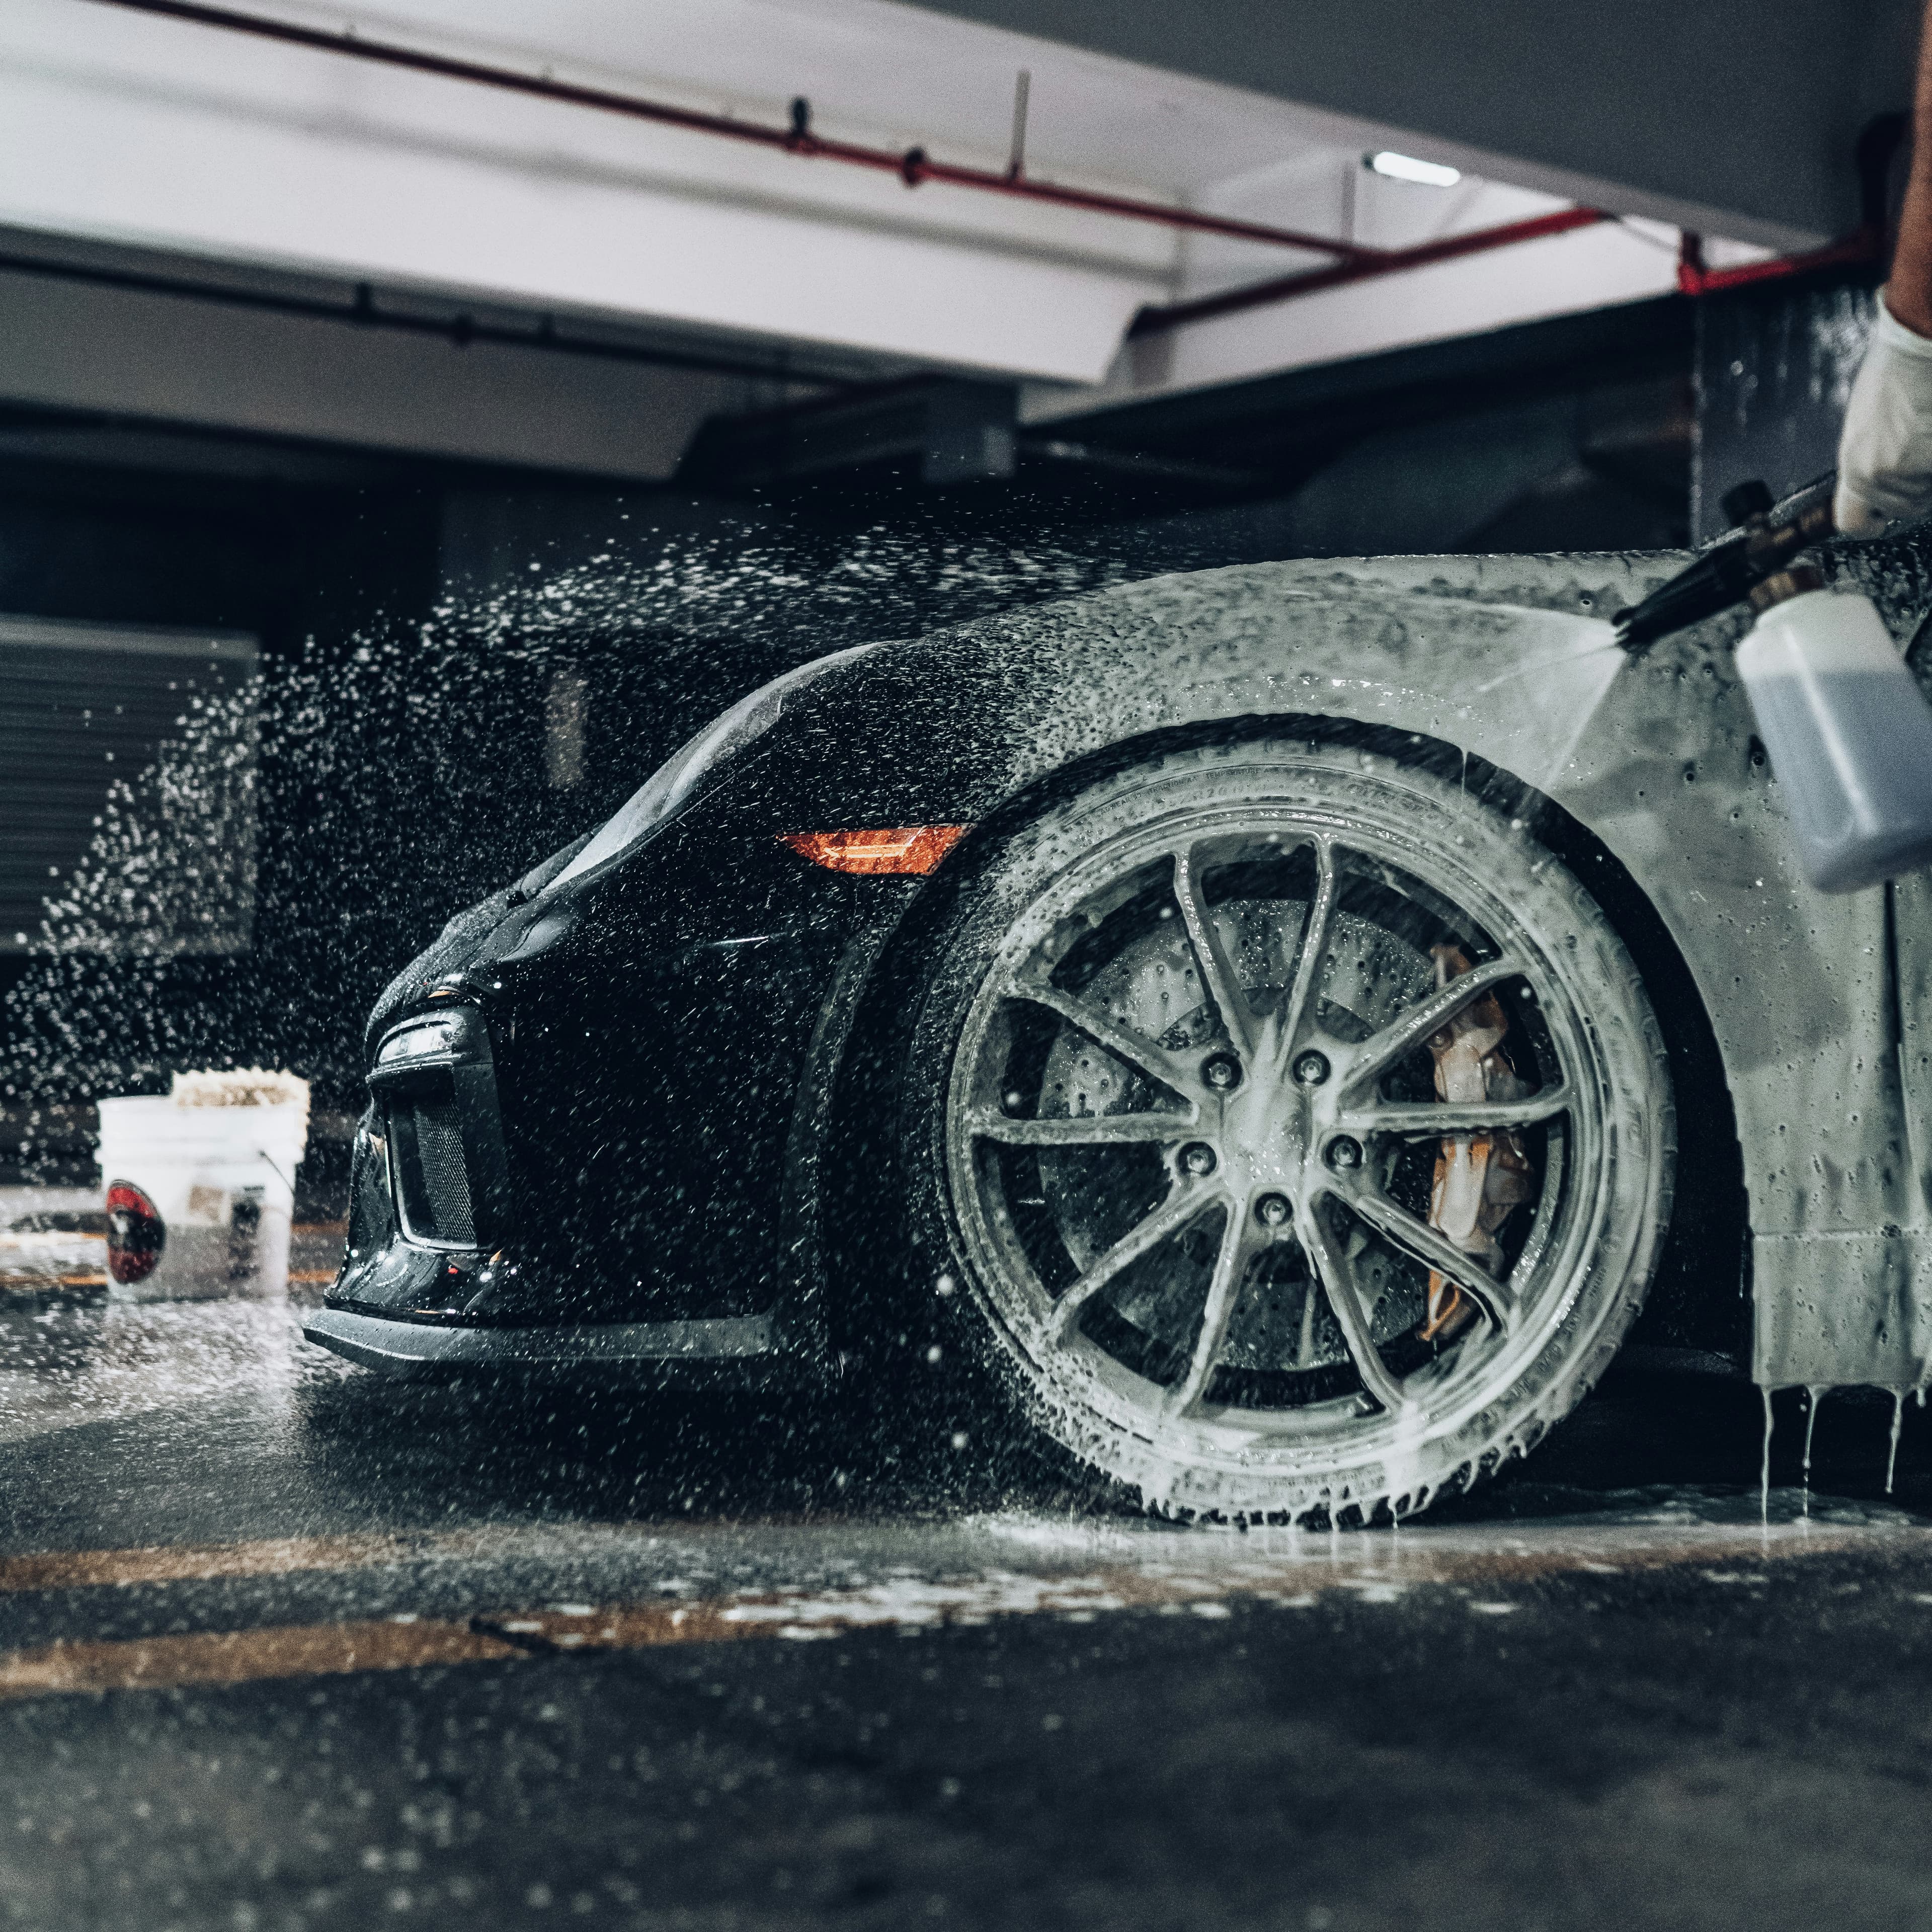
Why the Way You Wash Matters More Than How Often
Most of the fine scratches and swirl marks on a car do not come from the road. They come from washing. Every time you drag a dirty sponge across the paint, you grind tiny grit particles into the clear coat. Do that for a few years and the paint looks dull and hazy, especially on dark colours and in direct sunlight.
The good news is that safe washing is simple once you know the method. The two-bucket wash method is the standard every professional uses, and you can do it in your own driveway. Here is how it works and why each step protects your paint.
What You Need
Before you start, gather your kit. Good tools cost little and last for years.
- Two buckets, ideally with grit guards in the bottom
- A quality car shampoo with a neutral pH
- A soft microfiber wash mitt, not a household sponge
- A separate mitt or brush for wheels
- Two or three clean microfiber drying towels
- A hose or pressure washer for rinsing
The household sponge is the biggest hidden enemy here. It traps dirt against the paint instead of releasing it. A plush microfiber mitt lets grit fall away from the surface.
The Two-Bucket Setup Explained
Fill one bucket with your shampoo mix. This is your wash bucket. Fill the second bucket with clean water. This is your rinse bucket.
The idea is simple. You load the mitt with soapy water, clean one section of the car, then rinse the mitt in the plain water bucket before you dip it back into the shampoo. The dirt stays in the rinse bucket instead of going back onto your paint. A grit guard at the bottom of each bucket traps the particles so they do not swirl back up.
With a single bucket, every dip reloads your mitt with the same dirt you just removed. That is how swirl marks are born.
Step by Step
1. Rinse First
Spray the whole car with water before you touch it. This removes loose dust, sand, and grit so your mitt never has to drag it across the paint. Pay attention to the lower panels and wheel arches where the road grime collects.
2. Wash the Wheels First
Wheels are the dirtiest part of the car, full of brake dust and road tar. Clean them first with a separate mitt or brush so that dirt never mixes with the mitt you use on the paint. Then set those tools aside.
3. Work Top to Bottom
Start at the roof and work down. The lower sections are always the dirtiest, so you leave them for last. Clean one panel at a time. Rinse the mitt in the clean bucket after every panel, wring it out, then reload with shampoo.
4. Use Straight Lines
Wipe in straight lines from front to back, not in circles. If you do leave a light mark, straight lines are far less visible than circular swirls.
5. Rinse Again
Rinse the whole car thoroughly. Any shampoo left to dry will leave streaks and water spots, especially in hard-water areas.
6. Dry Properly
Never let the car air dry. Minerals in the water dry into spots that etch the paint over time. Use a clean microfiber towel and a gentle patting or dragging motion. A drying aid or quick detailer spray helps the towel glide and adds a little protection.
Common Mistakes to Avoid
- Washing in direct sunlight, which dries the shampoo before you can rinse it
- Using dish soap, which strips wax and protective coatings
- Reusing a dropped mitt without rinsing it first
- Skipping the drying step and letting water evaporate on the paint
How Often Should You Wash?
In the Dutch climate, every two weeks is a good rhythm for most drivers. In winter, when the roads are salted, wash more often to keep salt from attacking the paint and underbody. After a long motorway drive full of bugs and tar, a prompt wash prevents staining.
When to Call in a Professional
A careful two-bucket wash keeps your paint clean and safe, but it cannot undo damage that is already there. If your paint already shows swirl marks, holograms, or a dull haze, it needs paint correction to bring back the gloss. Deep-set contamination may also need a proper decontamination treatment before any protection is applied.
At Dr. Detailer we come to you in Alphen aan den Rijn and across South Holland with everything needed for a full exterior detail, from safe washing to paint correction and ceramic coating. We use eco-friendly products and work at your home or office, so you never have to leave the car at a shop. If you want your paint protected for the long term, a professional decontamination and coating is the ideal next step after you have mastered the basics at home.
More articles
How to Clean Car Windows Without Streaks: A Practical Guide
Learn how to clean car windows without streaks. Simple tips for inside and outside glass, the right products and tools, and what to avoid this autumn.
Autumn Car Care Tips for Dutch Weather: Leaves, Damp and Grime
Practical autumn car care tips for Dutch drivers. Protect your paint from fallen leaves, tree sap, damp and road grime before winter hits South Holland.