
Wheel and Rim Cleaning Guide: Remove Brake Dust and Protect Alloys
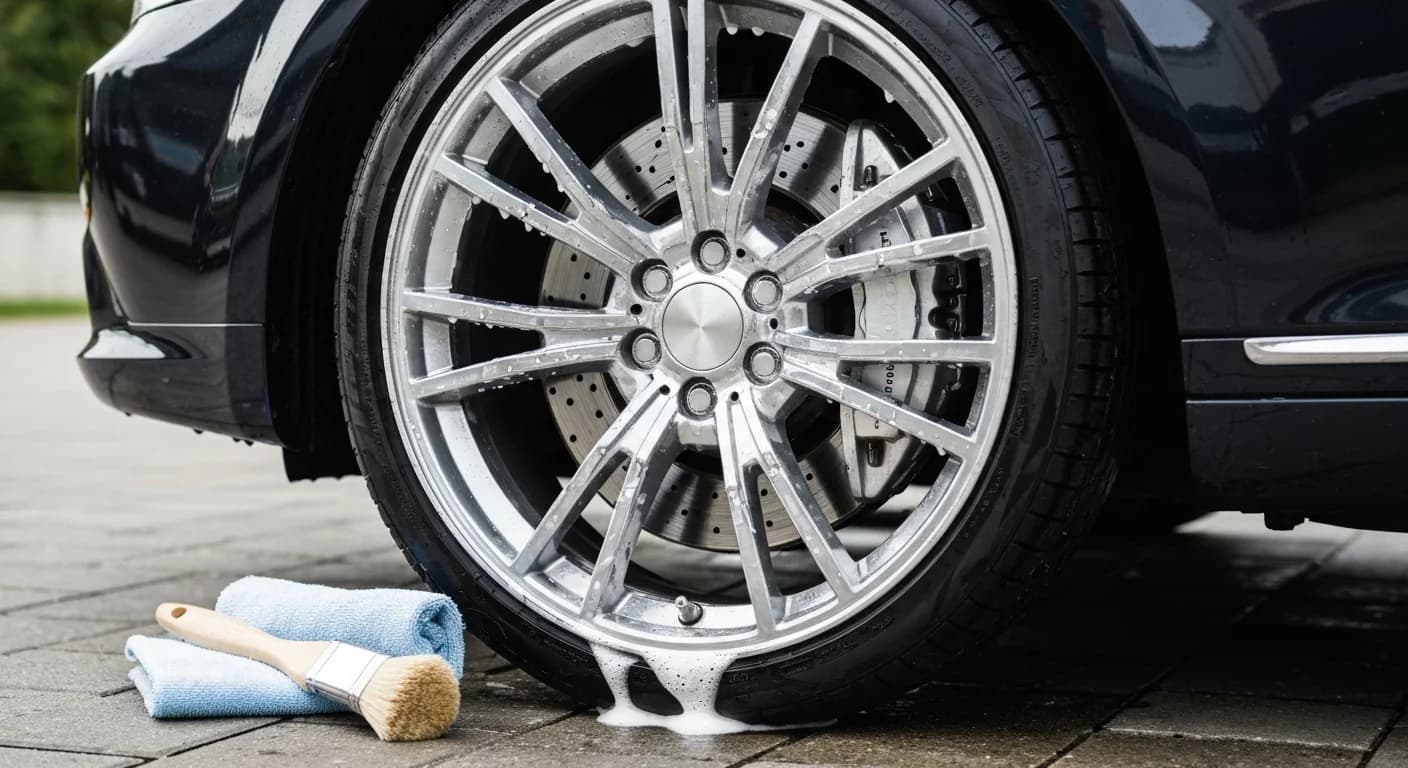
Why Wheels Deserve More Attention Than You Think
Wheels are the dirtiest part of any car. They collect brake dust, road grime, tar, iron particles, and salt from Dutch roads, especially in winter. Yet most car owners spend less than two minutes cleaning them during a regular wash. The result? Dull, pitted alloys that age the entire look of the vehicle and slowly corrode underneath.
If you want your car to look genuinely cared for, your wheels need to look as good as your paint. This guide walks you through how to clean alloy wheels properly, remove stubborn brake dust, and keep them protected for the long haul.
What Brake Dust Actually Is
Brake dust isn't just dirt. It's a mixture of:
- Tiny iron particles shaved off the brake rotor
- Carbon residue from the brake pad compound
- Adhesives and resin from the pad itself
- Road grime that sticks to the heated, charged surface
Those iron particles are the problem. Once they land on a hot wheel, they bond chemically with the clear coat or paint on the alloy. Over weeks, they oxidize, causing tiny rust spots that pit the finish. A simple soap wash won't touch them.
Step-by-Step: How to Clean Wheels the Right Way
1. Always Start with Cold Wheels
Never clean a hot wheel. Hot metal evaporates cleaner before it can do its job, and aggressive chemicals on hot alloys can cause water spotting or damage the finish. Let the car sit for at least 30 minutes after driving.
2. Rinse Thoroughly First
Use a strong jet of water (no pressure washer needed if you don't have one — a regular hose works) to flush loose grit out of the spokes, lug nut holes, and behind the spokes. Skipping this step means you'll grind sand into the finish with your brushes.
3. Use a Dedicated Wheel Cleaner
Reach for a pH-neutral wheel cleaner. Avoid acidic cleaners on coated, polished, or chrome wheels — they can etch and dull the finish permanently. Look for iron removers (often called "fallout removers") that turn purple as they react with embedded iron particles. It looks dramatic, but it's just the chemistry working.
4. Agitate Carefully
Use different brushes for different areas:
- A soft wheel face brush for the visible surfaces
- A long, soft-bristle brush for the barrel
- A small detailing brush for lug nuts and crevices
Never use the same brush you use on paintwork — wheel dirt contains metal shards that will scratch your paint.
5. Rinse Completely and Dry
Leftover cleaner can stain. Rinse thoroughly, then dry with a dedicated wheel microfiber. Leaving wheels to air-dry causes water spotting, especially with the hard water common in many parts of the Netherlands.
How to Protect Wheels After Cleaning
Cleaning is only half the job. Protection is what keeps them looking new.
- Wheel sealants are quick to apply and last around 2–3 months. They make weekly cleaning dramatically easier.
- Ceramic wheel coatings bond to the surface and can last 1–2 years. They resist heat, brake dust, and chemicals. Ideal if you want to wash and forget.
- Reapply after deep cleans. Strong cleaners strip protection, so always re-seal after a thorough decontamination.
For coated wheels, you'll notice brake dust rinses off with plain water and a soft brush. Most owners say this is the single biggest quality-of-life upgrade they get from professional detailing.
Common Wheel Cleaning Mistakes
- Using kitchen sponges or dish soap — they scratch and strip wax
- Cleaning wheels last (do them first, when the car is cool)
- Ignoring the inner barrel where most brake dust hides
- Skipping protection after a thorough clean
- Using acidic cleaners on polished or coated alloys
When to Call a Professional
If your wheels have visible pitting, heavy curb rash, or years of baked-on brake dust, a professional decontamination and ceramic coating session is worth it. The Dr. Detailer mobile service in Alphen aan den Rijn includes thorough wheel decontamination, iron removal, and optional ceramic wheel coating — done at your home or office so you don't need to drop the car off anywhere.
Clean, protected wheels make the whole car look sharper. Spend ten extra minutes on them every wash, and you'll see the difference for years.
More articles
How to Clean Car Windows Without Streaks: A Practical Guide
Learn how to clean car windows without streaks. Simple tips for inside and outside glass, the right products and tools, and what to avoid this autumn.
Autumn Car Care Tips for Dutch Weather: Leaves, Damp and Grime
Practical autumn car care tips for Dutch drivers. Protect your paint from fallen leaves, tree sap, damp and road grime before winter hits South Holland.